A Practical Guide to Zendesk to Salesforce Integration
Unlock a 360-degree customer view with our complete guide to Zendesk to Salesforce integration. Explore options, steps, and best practices to unify your data.If your support and sales teams are working in different worlds, you're missing the full picture of your customer. Tying Zendesk and Salesforce together is one of the most powerful moves you can make to fix that, giving everyone a shared view of every customer interaction.
Why Bother Integrating Zendesk and Salesforce?
Let's get straight to the point. When sales and support don't talk, your customer experience suffers. This isn't just about convenience; it's about eliminating blind spots that cost you sales and frustrate customers.
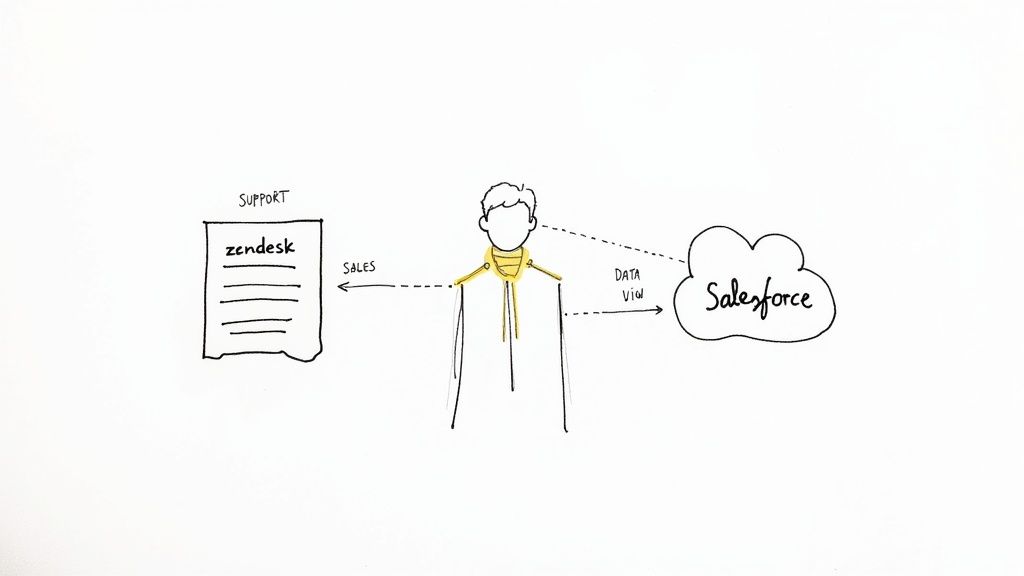
A solid Zendesk to Salesforce integration creates that single source of truth everyone talks about. Think about a sales rep about to jump on a renewal call. Instead of flying blind, they can see the customer's complete support history right inside Salesforce. Every ticket, every issue, every feature request is right there, providing crucial context for a smarter, more personal conversation.
It’s All About Efficiency and Growth
This unified view pays off in real dollars. Support agents are on the front lines, often spotting clear upsell opportunities. With this integration, they can flag those opportunities and send qualified leads straight to the sales team without missing a beat.
The numbers don't lie. Companies that connect these two platforms have seen some impressive results, including a help desk ROI boost of over 34% and a 26% drop in support costs. You can dig into more stats about the financial impact of this integration on Synebo.io.
Alright, let's get Zendesk and Salesforce talking. Your first big decision is how to connect them. There isn't a single right answer here—the best path really depends on your budget, your team's technical comfort level, and just how specific your data syncing needs are.
You've got three main routes to consider for your Zendesk to Salesforce integration.
Weighing Your Options
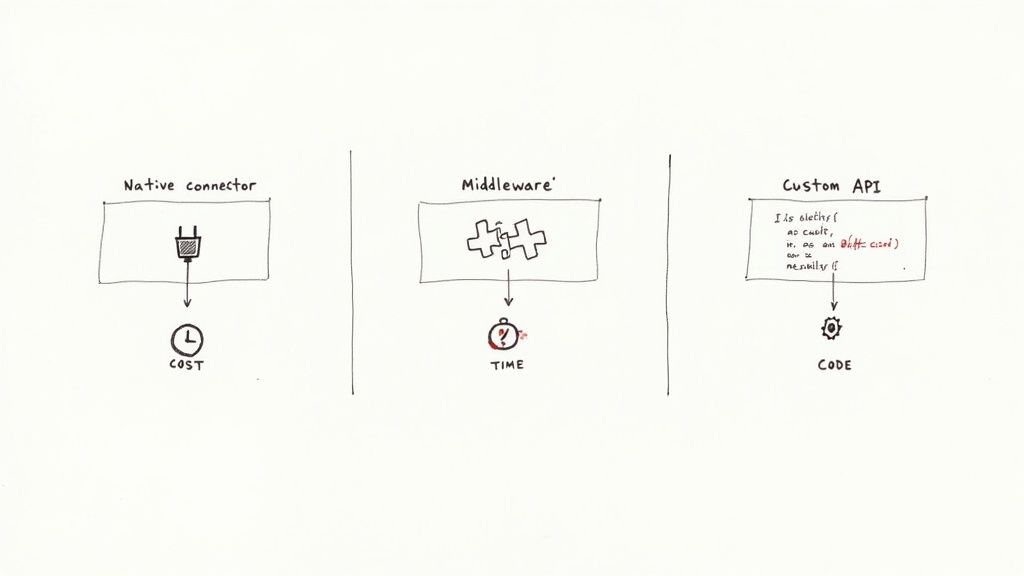
- The Native Connector: This is the pre-built solution offered directly by Zendesk. It's usually the quickest way to get up and running and handles the basics well, like syncing tickets to cases and keeping contact info aligned.
- Middleware Platforms: Think of tools like Zapier or Workato as powerful interpreters. They sit between Zendesk and Salesforce, letting you build more complex workflows without writing code. If you've ever set up a Gmail to Slack integration, you already know the drill.
- Custom API Development: This is the "build it yourself" route. If you have unique Salesforce objects, need complex data validation, or have to sync massive amounts of data in real-time, building a custom solution using the official APIs gives you complete control.
To make the choice clearer, here’s a quick breakdown of how these methods stack up against each other.
Zendesk to Salesforce Integration Methods Compared
| Method | Ease of Setup | Customization Level | Typical Cost | Best For |
|---|---|---|---|---|
| Native Connector | Easiest. Point-and-click setup. | Low. Limited to standard fields. | Included in some plans, or a fixed add-on cost. | Teams needing a quick, basic sync of standard objects like tickets and contacts. |
| Middleware (Zapier) | Moderate. Visual workflow builder. | Medium. Flexible logic and steps. | Monthly subscription based on usage. | Growing teams that need multi-step automation without a developer. |
| Custom API | Hardest. Requires development resources. | High. Limitless possibilities. | Significant upfront and ongoing dev costs. | Enterprises with unique workflows, high data volume, or complex objects. |
Ultimately, a smaller team will probably find the simplicity of a tool like Zapier is the perfect fit. On the other hand, a larger organization with in-house developers might find the raw power of a custom API is the only way to meet their demands.
My advice? For most small and medium-sized businesses, the native connector or a user-friendly middleware platform is the most sensible starting point. A full custom build is a serious project, best saved for truly complex, enterprise-level needs.
Preparing for a Seamless Integration
Before you even think about connecting the two systems, a little prep work is essential. Diving straight into the configuration without a plan is a classic mistake that can lead to a lot of headaches down the road. A successful Zendesk to Salesforce integration really starts with getting your house in order first.
A great first step is to double-check user permissions. You'll need to set up a dedicated integration user with the right API access to read and write the specific records you want to sync. Trust me, getting this part wrong is one of the most common reasons integrations fail right out of the gate.
Figure Out Your Data Flow
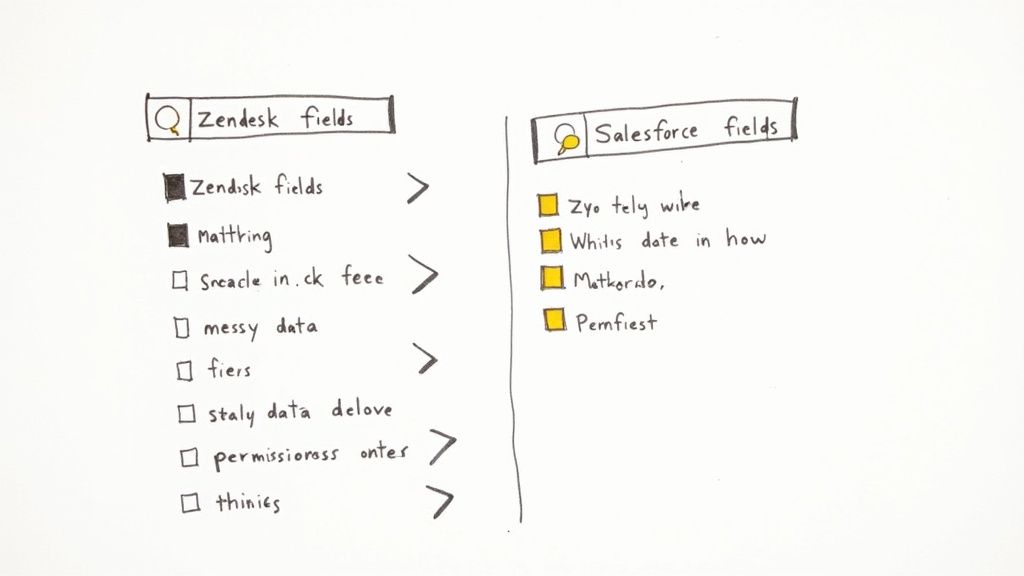
Next up, it’s time to map out your data. The goal isn't to sync every single piece of information—it’s to be strategic. Decide which objects and fields actually provide value when shared between your support and sales teams.
Most teams start with a standard mapping that looks something like this:
- Zendesk Tickets become Salesforce Cases
- Zendesk Users line up with Salesforce Contacts
- Zendesk Organizations map to Salesforce Accounts
This is also the perfect opportunity for a data cleanup. Go through both platforms and weed out duplicates, standardize how you name things, and fix any obvious errors. If you sync messy data, you just end up with a bigger, more complicated mess.
Keep it simple. The aim is clarity, not complexity. Assign a clear project owner to make the final decisions on data mapping and keep everyone in the loop. This single step can prevent a world of confusion and get everyone on the same page.
Finally, consider what unique information your business relies on. If you need to capture specific data points, you'll want to get comfortable with Zendesk custom fields to make sure nothing important gets lost in translation.
Let's Get Everything Connected
Once you've done your prep work, it's time to actually connect Zendesk and Salesforce. We'll walk through the native connector, which is the most common starting point and surprisingly powerful right out of the box. The whole process is about authorizing the two platforms to talk to each other and then mapping out the rules of conversation.
First things first, you need to install the Salesforce app from the Zendesk Marketplace. After it's installed, head over to your Zendesk Admin Center. You'll find the Salesforce integration settings there—just hit Connect. This will pop up a Salesforce login window to create the secure handshake between the systems. Just a heads-up, you'll need to be an admin on both platforms to get this done.
Dialing in the Sync Settings
With the connection established, you get to the fun part: deciding what data goes where and when. This is where you lay down the law for your data sync. The native connector gives you three core options to start with:
- Accounts to Organizations: This is a must. It syncs your Salesforce Accounts with Zendesk Organizations, so your support team always knows which company they're talking to.
- Contacts/Leads to Users: This keeps your people in sync. You can push Salesforce Contacts or Leads over to Zendesk as end-users, ensuring a single, unified customer profile.
- Ticket Syncing: This is the big one. It lets you automatically create Salesforce Cases directly from Zendesk tickets, bridging the gap between support and sales or account management.
You can get pretty specific here. For example, you can set up triggers so that a Zendesk ticket only creates a Case in Salesforce if it has a certain tag, like "sales_inquiry."
My Advice: Always start with a one-way sync, pushing data from Zendesk to Salesforce. Bi-directional syncs are powerful but add a layer of complexity. Nail the one-way flow first, make sure it’s clean, and then explore syncing data back.
How This Looks in the Real World
Let's picture it. A customer call comes in through a service like CallCow. The AI agent on the call correctly tags it with "Urgent_Support_Request." That tag is your trigger.
Instantly, a new ticket pops up in Zendesk. Thanks to the integration you just set up, that ticket immediately creates a new Case in Salesforce, already linked to the right customer Contact. All the important details—the call notes, the "Urgent_Support_Request" tag—are mapped directly to fields on the Salesforce Case.
The account owner sees everything they need without ever having to switch screens. This is where the magic happens. We've seen companies achieve 40% faster ticket resolution and a 25% increase in upsells just by creating this kind of seamless visibility. You can read more about how powerful these integration outcomes can be at Bizdata360.com.
What to Do After You Flip the Switch
Getting your Zendesk to Salesforce integration live is a fantastic first step, but the real work begins now. To keep everything running smoothly and prevent minor hiccups from turning into major data disasters, you need to stay on top of it.
Your first priority should be keeping a close eye on API usage. Both Salesforce and Zendesk have API call limits, and if you hit them, your sync will just stop working. A good rule of thumb is to set up alerts that fire when you hit 80% of your limit. This gives your team a heads-up to check for any unusual activity before it brings things to a halt.
Keeping Your Sync in Good Shape
Things change. Salesforce gets an update, or your team adds a new required field in Zendesk. These small adjustments can easily break a workflow that was running perfectly yesterday. That's why running regular check-ups is so important. I recommend building a simple set of tests to run at least once a quarter.
- Test Ticket to Case Creation: Log a dummy ticket in Zendesk. Did it show up as a Case in Salesforce? Are all the fields you mapped populated correctly?
- Check User to Contact Sync: Add a new user on the Zendesk side. Make sure it properly creates or updates the right Contact record in Salesforce.
- Verify Error Notifications: Try to break it on purpose. Leave a required field blank or enter bad data to make sure your error alerts are actually working as expected.
Most of the time, when something goes wrong, it's an issue with one of the core setup stages: authentication, configuration, or field mapping.
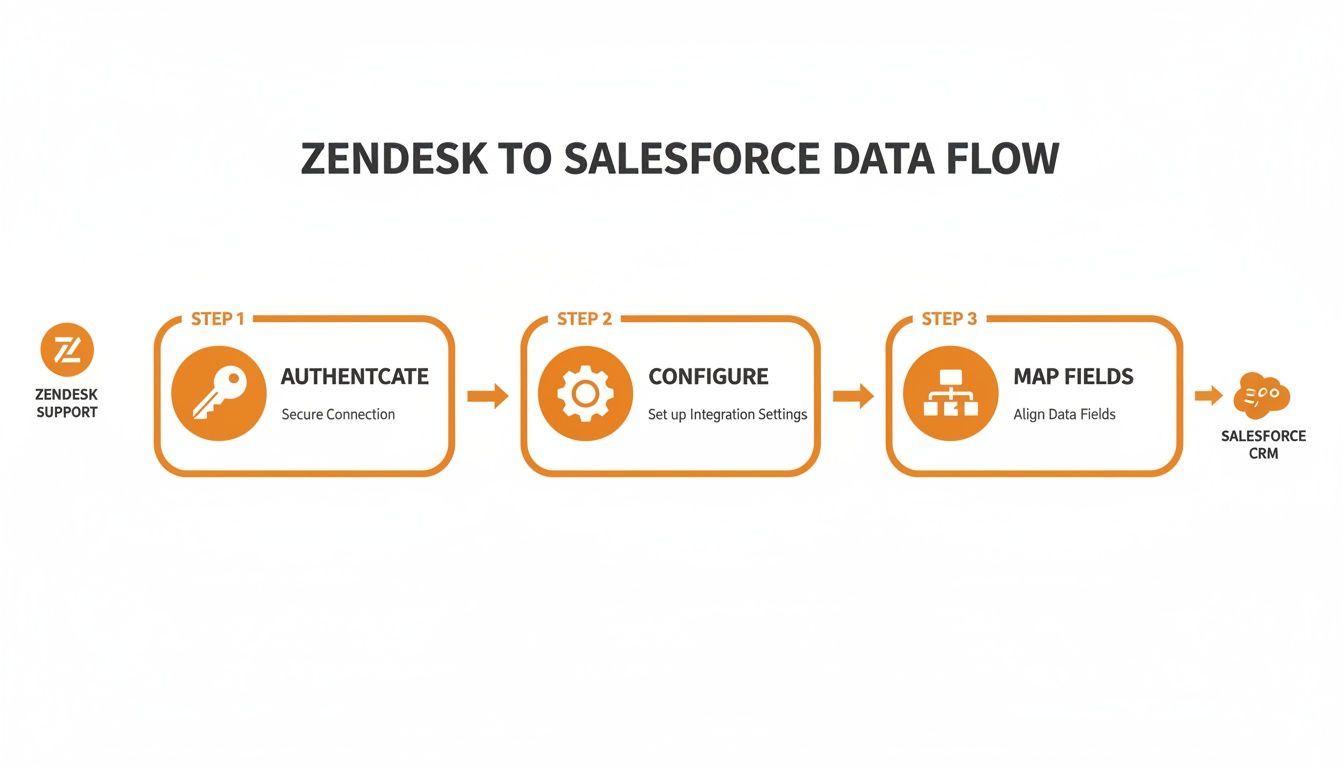
Thinking about the integration in these three parts makes troubleshooting much easier. And if you're looking to take your support efficiency even further, consider adding a chatbot for Zendesk to handle some of the initial customer questions.
My Two Cents: Don't think of your integration as a "set it and forget it" project. It's a living part of your tech stack. Proactive monitoring and routine health checks are the only way to ensure it keeps delivering value to your sales and support teams.
FAQ
How Often Does the Data Actually Sync?
The sync speed between Zendesk and Salesforce really comes down to the integration method you pick.
If you're using the native connector, you can expect a near real-time sync. But honestly, tools like Zapier often feel even quicker, firing off updates the instant a trigger event happens. For those who need complete authority over timing, a custom API solution lets you set the sync interval to whatever you need—every minute, every hour, you name it.
Can I Sync My Custom Fields and Objects?
Absolutely, though there are a few things to keep in mind. The native connector is great for handling custom fields on standard objects—think tickets, users, and organizations. No problem there.
But if your setup involves entirely custom Salesforce objects or requires some tricky logic tied to your custom fields, you'll hit the limits of the native tool pretty fast. That's when you'll need to turn to a more flexible middleware platform or a full-blown custom API integration to get the job done right.
From my experience, the most common hiccups aren't complex bugs. They're usually simple authentication errors, hitting API rate limits during peak hours, or bumping up against Salesforce's data validation rules. This is why having solid monitoring and clear error logs in place from day one is so important—it makes finding and fixing these issues a breeze.